In this blog, we would like to tell you about the new features of Odoo Studio in Odoo 12. Since Odoo 12, quite a few features have been added within the Odoo Studio app that many end users had already been asking for. The most important new possibility is being able to modify existing reports and create new reports.
Creating a new report
Once you have installed Odoo Studio, you can create and design a new report within a few minutes. Go to the form from which you want to be able to print the new report and click the Odoo Studio icon at the top of the menu bar:

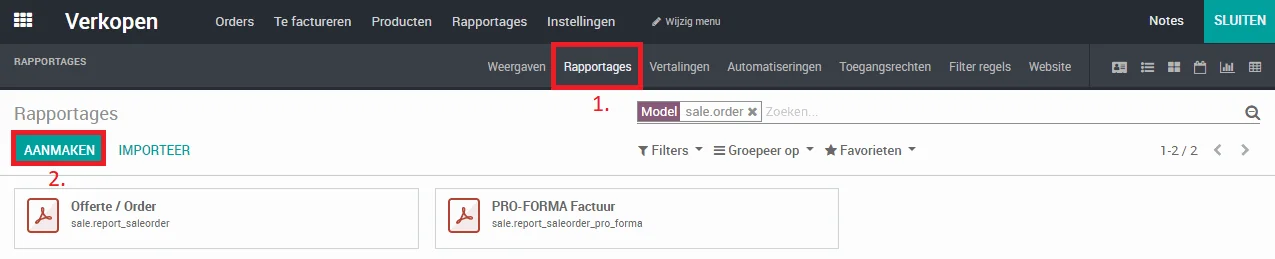
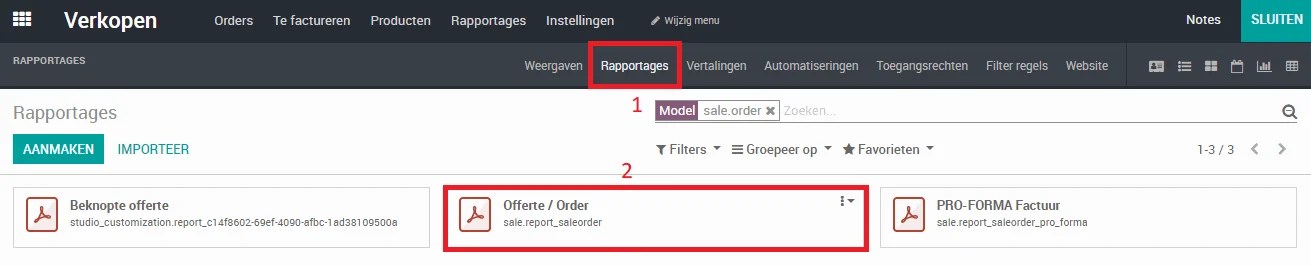
After the Odoo Studio view has opened, you can choose ‘Reports’ (1) and then click “Create” (2):
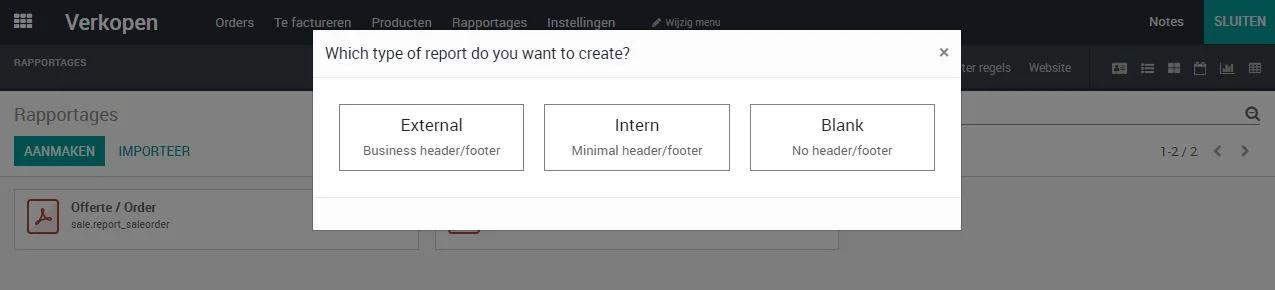
Next, a dialog box appears to choose the report type. You have three options:
External: generates a report that you want to print or send to customers. It contains an extensive header and footer and a report layout.
Internal: generates a new report with a minimal header and footer, so there is no custom header or footer layout.
Blank: generates a new report without a header or footer.
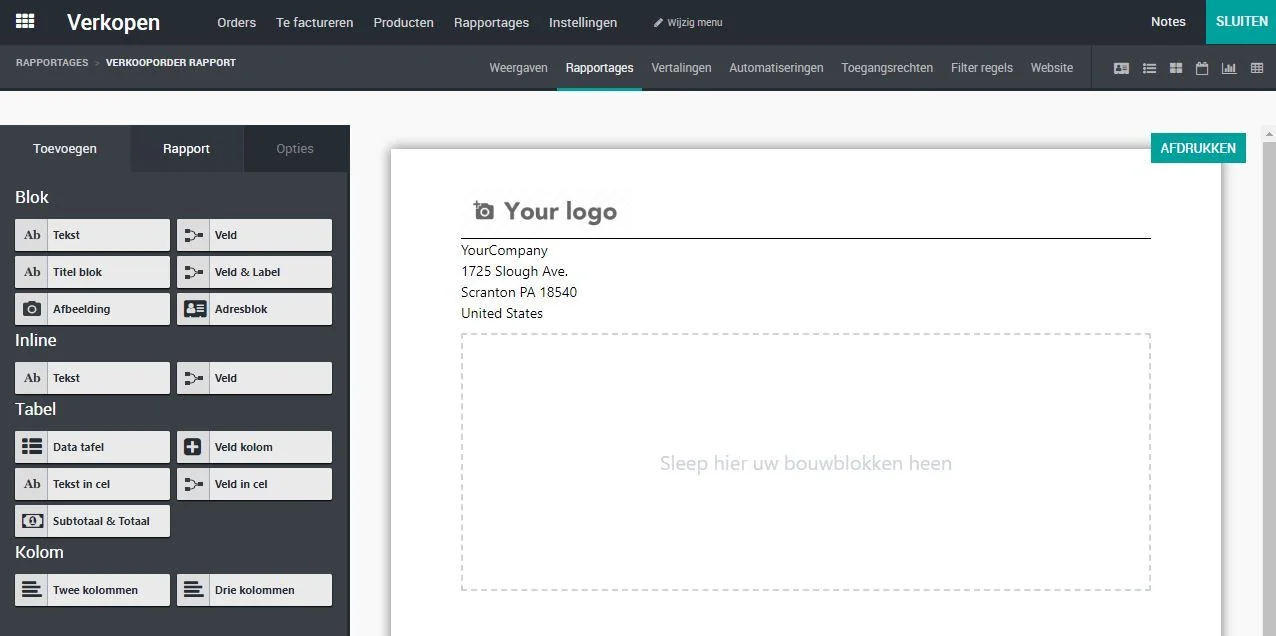
After you have chosen your report type, Odoo Studio opens it in ‘Preview’ mode and you can start designing a new report:
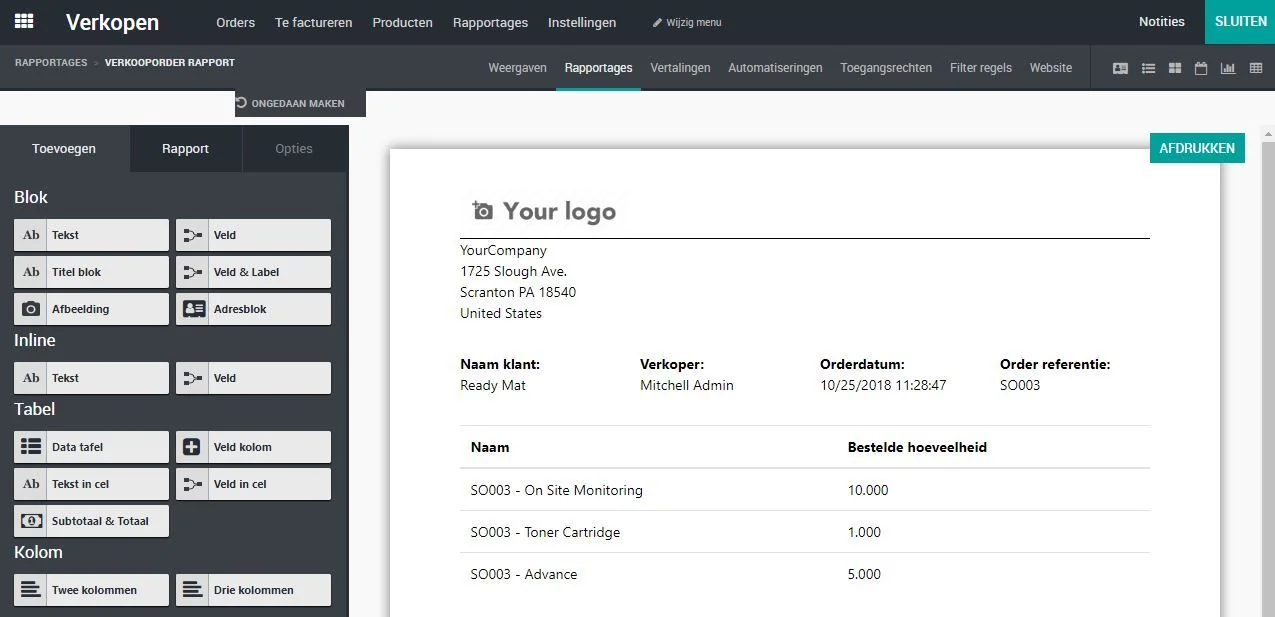
Next, you can build the report by dragging building blocks from the left-hand section onto the report. In this way, you can show values from, for example, a sales order on the report and create your own report layout. A small example of such a custom report:
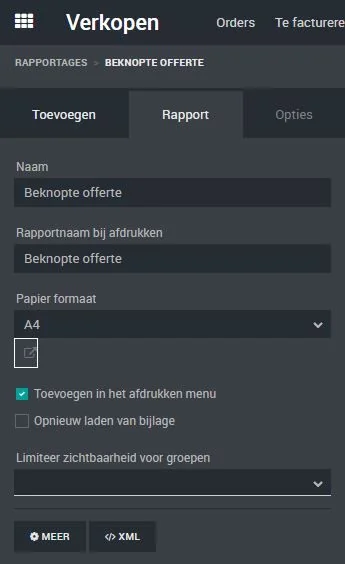
When you are done designing your report, it is best to briefly go through the “Report” tab as well. Here you can give the report a name and set a paper format, and you even have the option to make the report invisible to a group of users!
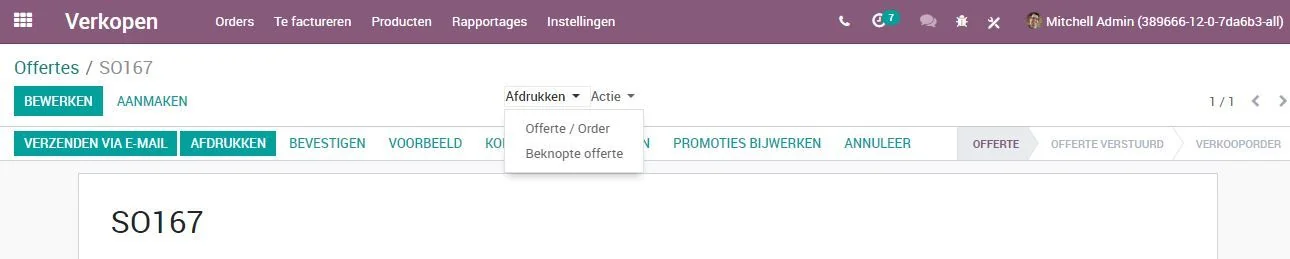
Finally, click “Close” at the top to close the report. The report is now automatically saved and is now visible on your form for printing:
Modifying an existing report
Would you rather modify an existing report instead of creating a new one?
That can also be done in just a few steps! Go to the form from which you can print the report and click the Odoo Studio icon at the top of the menu bar:
After the Odoo Studio view has opened, you can choose ‘Reports’ (1) and then select the report you want to edit (2):
After you click on the report, Odoo Studio opens the report in your view and it looks exactly as it would when printed. From here, you can modify, delete, add fields and much more. All the changes you want to make are done from this screen. If you want to change something about a field in the report, click the field once. Odoo Studio then shows all the available options for changing your field in the left-hand menu. An example:
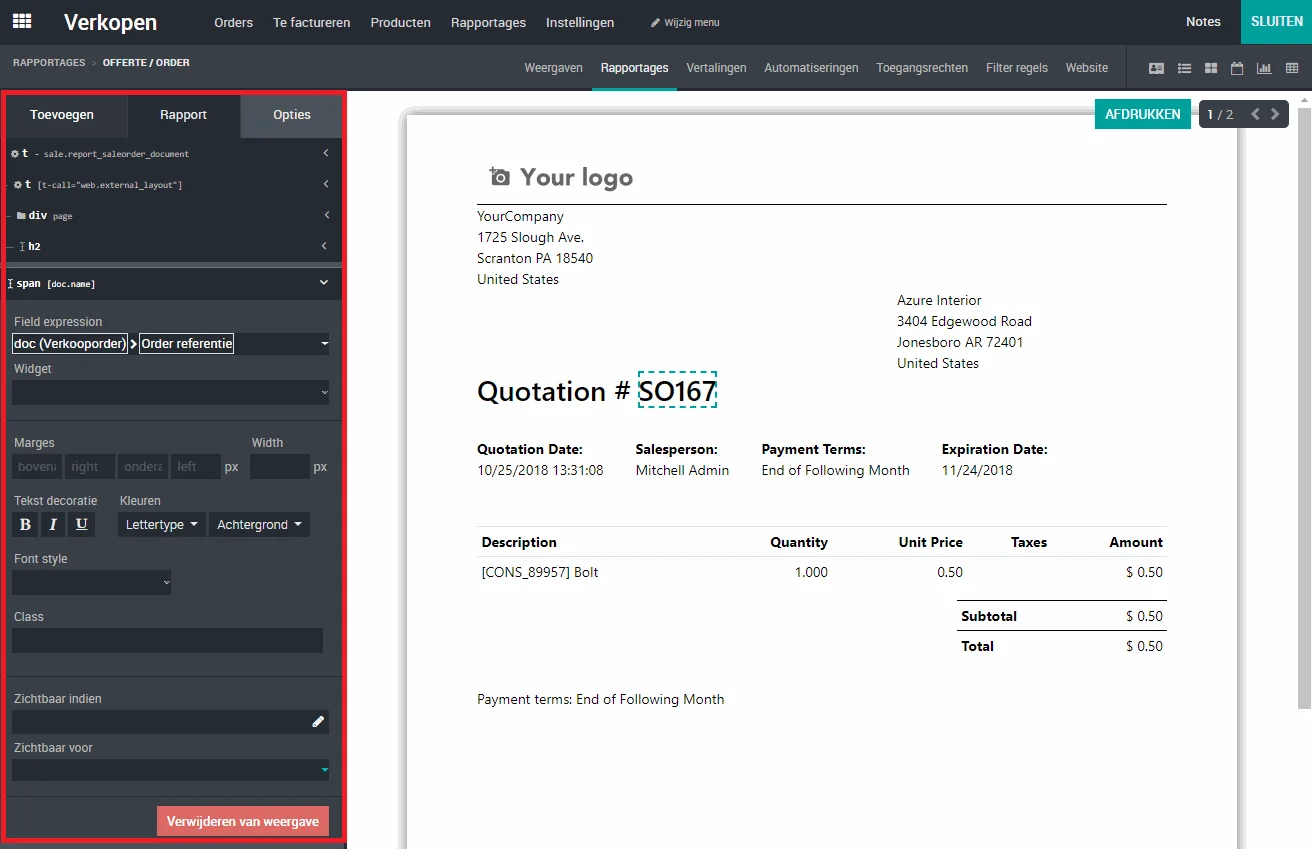
As you can see, the options are quite extensive. A few of the most important options:
Widget: Allows you to use a widget on a field. For example, on a date field you can decide whether the date should be printed on your report with or without time.
Margins: If you want more white space around an element, you can apply margins here.
Text decoration: Allows you to display the text in bold, italic, or underlined.
Colors: Allows you to give the text of the element a different color or set a background color on the element.
Font style: Allows you to set the size of your text (h1 through h6).
Visible if: with this option you can set a domain on the field. This allows you to configure that the field is shown for some users or customers and not for others.
Visible for: gives you the option to apply access rights to the field. For example, you could hide prices from employees whom you do not want to know the prices of your products.
Remove from view: gives you the option to remove the field from the report.
TIP: Did you make a mistake while modifying your report with Odoo Studio? Thanks to the “Undo” button in Odoo Studio, you can easily solve the problem and go back one or more steps.

Finally, click “Close” at the top to close the report. The report is now automatically saved.
Conclusion
The new Odoo Studio version in Odoo 12 is more powerful than ever (and not just for reports, by the way!). Odoo understood that end users often wanted to make small changes to reports or add reports without needing a programmer for it. Thanks to the new options, you can manage your reports yourself without technical knowledge and create new reports in a short time.
Good luck!